Typical Installations
Last updated December 24, 2020 by rodesp
Please read our FAQ if you haven’t already.
The intention of this page is not to be technical but rather give to the non-technical person an understanding of a typical installation.
NYC Mesh is an “over the air” network. The aim is to connect rooftop to rooftop using different types of equipment based on geography and topology. And in doing so, to expand NYC Mesh network coverage to the next block and so on*. The idea of NYC Mesh is to share the connectivity with neighbors, share resources, share equipment, share the network. Create a community of communities connecting to each other.
NYC Mesh uses basically two categories of equipment.
In the first category is equipment that “speaks” AirMAX (AirMax protocol).
Some hubs and supernodes have antennas covering a sector, or 360°, that “speak” AirMax. To connect to those, you need to install on your roof an antenna that understands that same AirMax protocol (see Ubiquiti equipment).
In addition, some hubs may as well have antennas of the second category.The second category of equipment uses the same wifi as your home router, 802.11 (there are different versions of wifi- 802.11a/b/g/n/ac) (see Mikrotik equipment).
*Note: In some cases, such as large buildings we may use fiber to connect but would setup a rooftop “hub” to expand the network to surrounding neighbors.
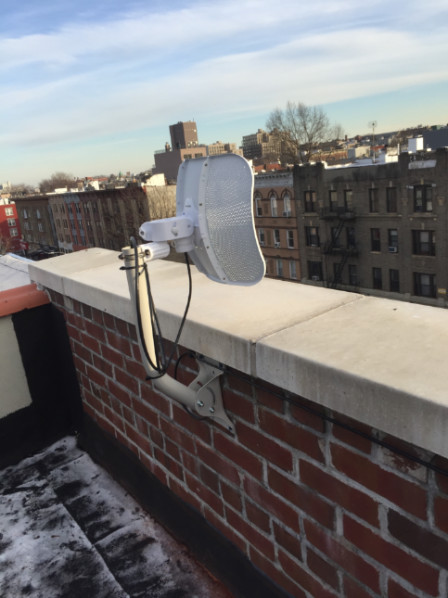
1.- Connect to a hub or supernode (one apartment - no roof-to-roof expansion). Such installation does not allow expansion of the Mesh network, nor allow sharing with neighbor community
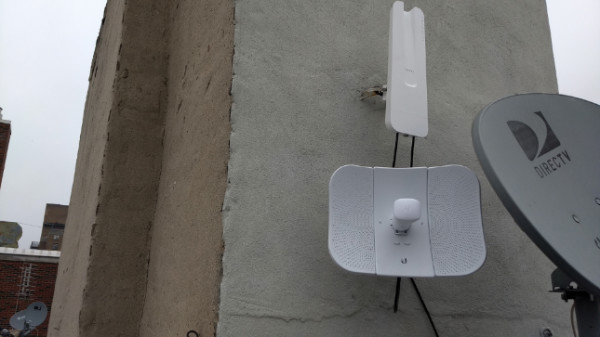
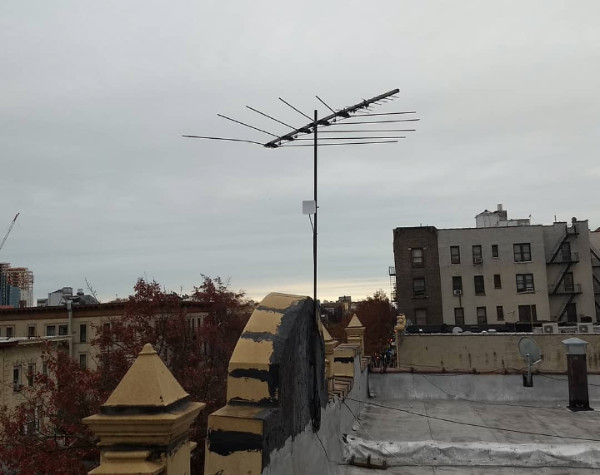
A typical installation has a LiteBeam antenna on the roof. From that antenna an ethernet cable is run to the apartment. (note: the antenna is sometimes referred to as the outdoor router).
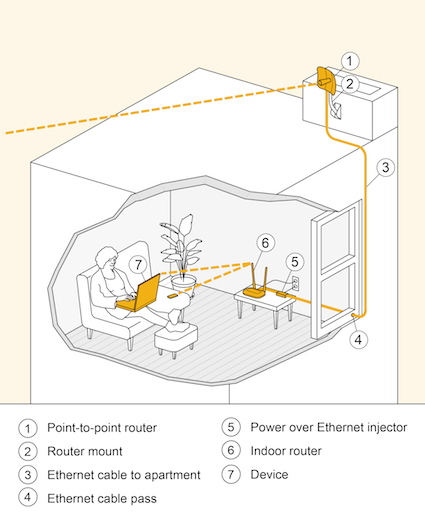
Depending on the roof it can be mounted on an old TV antenna pole, on an added pole, a wall, a chimney, or any existing infrastructure.
In the apartment any type of WiFi router can be installed. We install a TP-Link router.
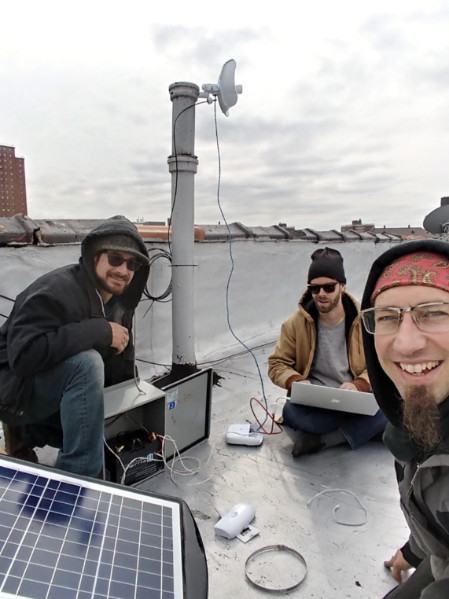
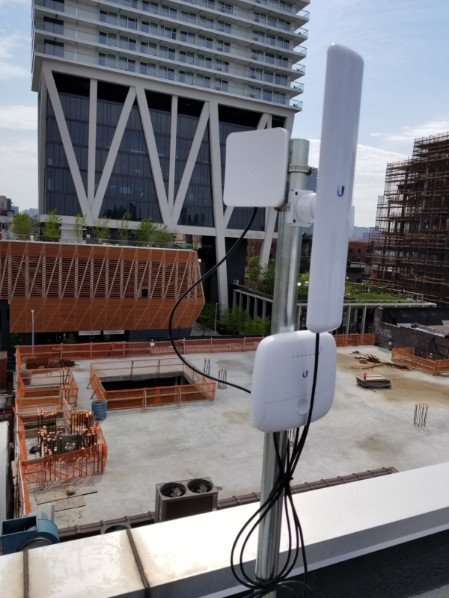
2.- Connect to a hub or supernode (one or several apartments - with roof-to-roof expansion). Allow Mesh network expansion and sharing with the neighbor community
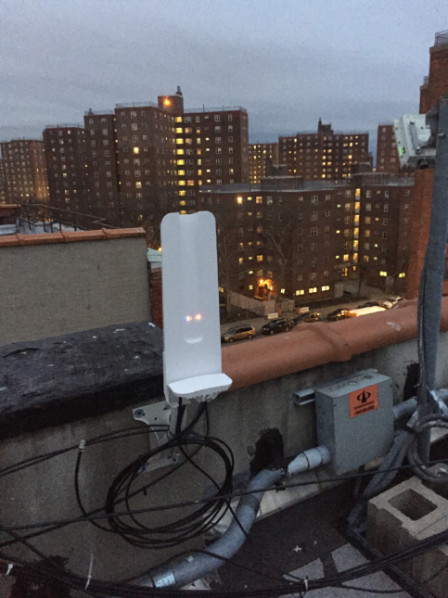
To allow others to connect to your rooftop LiteBeam router we need to add an ethernet router and an access point. For this we usually use an OmniTik mounted on the same pole or it can be mounted somewhere else on the roof. The OmniTik will give you wifi on your roof and also allow 4 other apartments to connect with ethernet.

The OmniTik is an Omnidirectional (360°) antenna. It has about 2-3 block radius. We connect the Litebeam to the OmniTik and apartments to the OmniTik via ethernet.

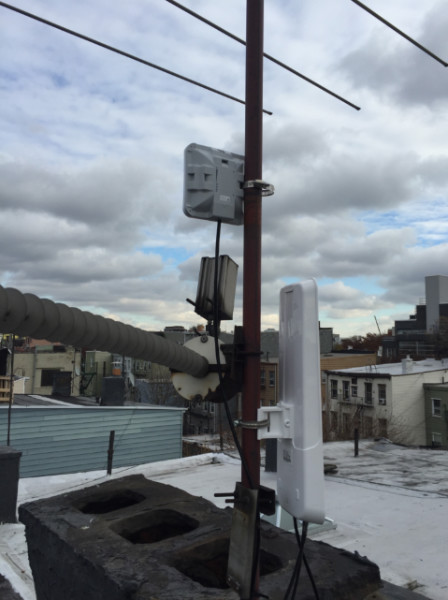
OmniTik not located next to the Litebeam
Other rooftops can connect to the OmniTik by using another Omnitik if they are close enough or we use, in some cases, an SXT.
This setup as a major benefit. It allows the devices to mesh with each other. If an other Omnitik is installed in a 2-3 blocks radius they will connect to each other and create a mesh, thus improving reliability and allowing a) the Mesh network to expand, and b) the neighbor community to use it to access internet.
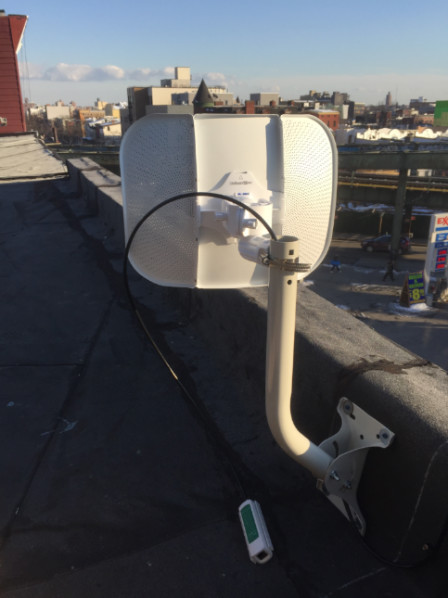
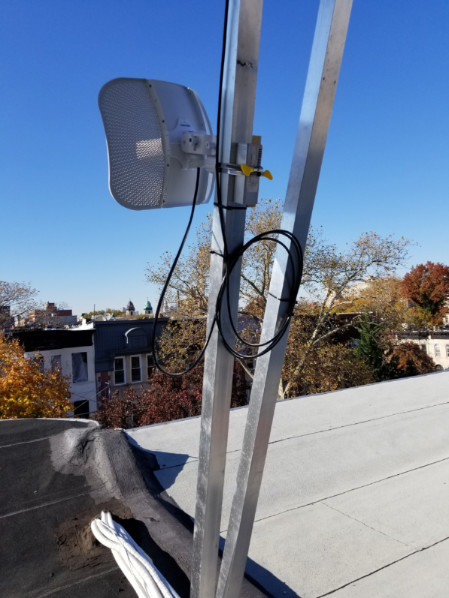
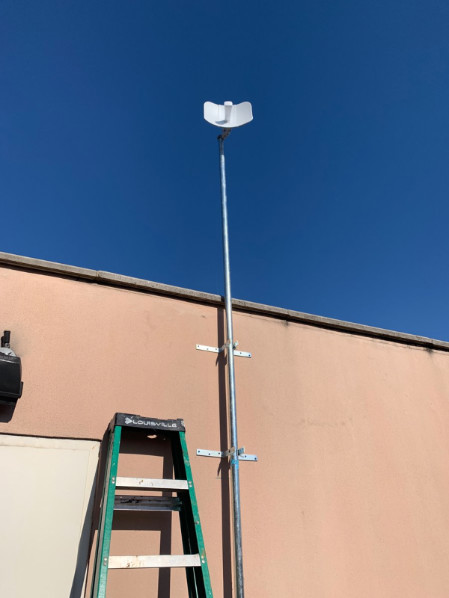
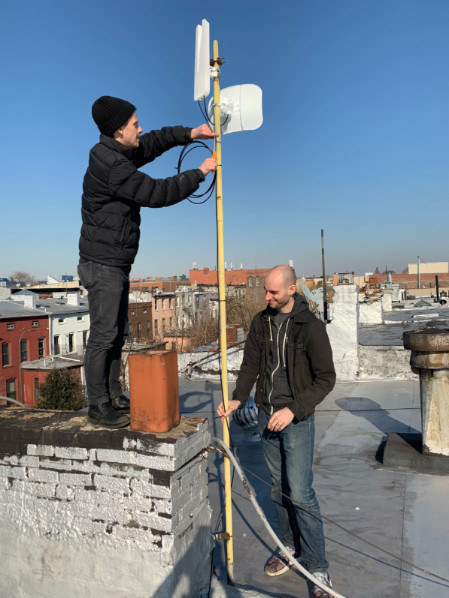
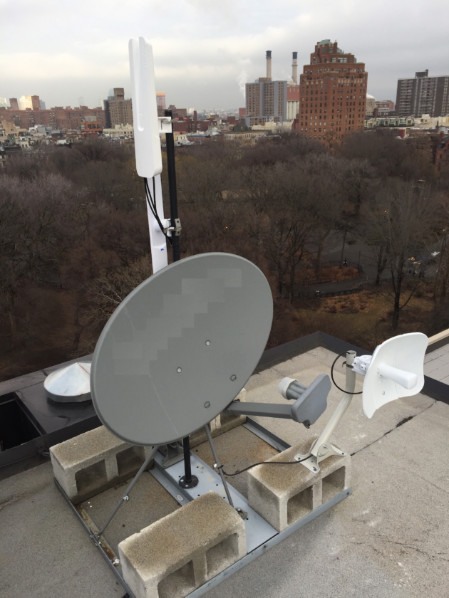
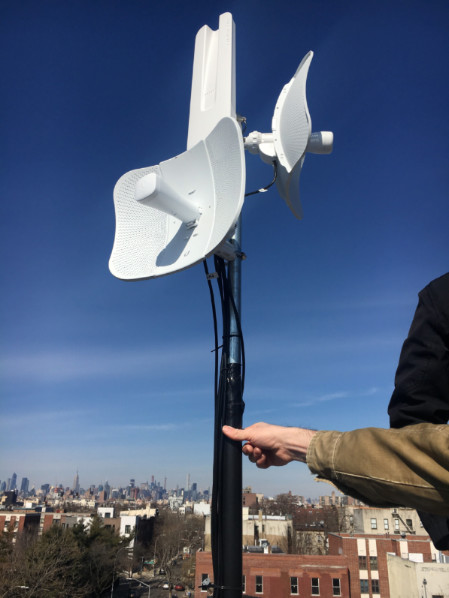
3.- A good rooftop can be “beefed up” to allow for more connectivity.
If the rooftop is interesting (at a good location, it’s high enough, etc) we may install “sectors” or other type of equipement. Sectors are antennas that communicate via Ubiquiti’s AirMax protocol and have a longer range than an OmniTik. Additionally, we may connect to two hubs, etc….
Here are four examples.
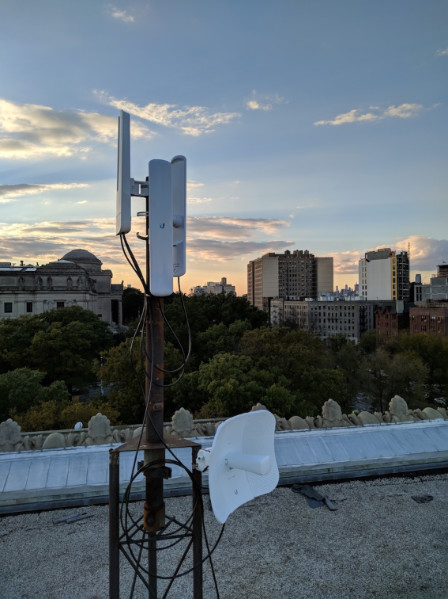
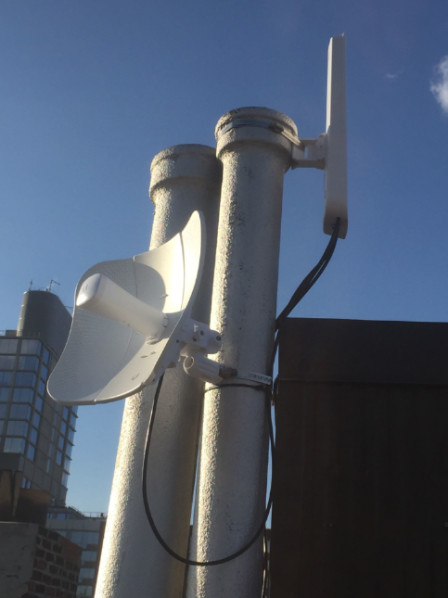
4.- A building can connect to another building with an OmniTik using a different antenna
A building can connect to another building with an OmniTik using a SXT antenna. It can then serve one or several apartments.
Those are typical installations. Other setups are possible and in use throughout NYC Mesh.
For the most up-to-date overview of the entire install process, check out the Install Training Presentation.